


Introduction
The letter R is a letter that is quite possibly of the most normally involved letter in the English language. It is likewise a weird one as the lowercase and capitalized renditions of the letter are very not the same as each other. This can make it somewhat of a migraine for individuals first figuring out how to compose it, yet seeing as we use it such a lot of it’s certainly worth the work! Learn this blog and visit the more drawing tutorials like Latest drawing ideas for beginners.
You can most likely compose R effortlessly, yet this guide will be founded on the most proficient method to draw an bubble letter R. Along these lines, you will actually want to make a wide range of cool plans with it! We will direct you through the cycle in a manner that is fun and simple, and afterward you will actually want to add your very own portion subtleties and fun plans to polish it off.
Stage 1: Bubble Letter R Drawing
While we’re making an bubble letter variant of a letter, we generally prefer to draw it out with a pencil first. This isn’t generally essential for simpler letters, yet R is convoluted an adequate number of that we would suggest it. On the off chance that you do this, utilizing a pencil is the smartest thought, as you will actually want to eradicate it when you’re finished. Just utilize your pencil to draw out a standard R shape and you can fabricate the bubble letter around it.
Presently, we can define the principal genuine boundary of the letter. This first line will frame the left-hand edge of the letter. Basically define an upward boundary that has an extremely slight bend to it. There will be a marginally more keen bend at the first in class, as displayed in our reference picture.
Stage 2: Bubble Letter R Drawing Step by Step
Presently, we will include the adjusted segment the right-hand side of a capital letter R. This will expand straightforwardly from the bended part at the first in class from the last step. The line bends forcefully around and afterward down towards the focal point of the letter. Make an honest effort to make it match our reference picture decently well!
Observe the hole in the center, as we will add more segments to that vacant space in the following couple of steps.
Stage 3: Bubble Letter R Drawing Ideas
The following piece of your bubble letter R seems as though the letter is standing out a leg. It will be associated straightforwardly to the adjusted line that we attracted the past step.
You will find in our reference picture that a shape is drawn with a bended line that twists strongly toward the end and afterward back towards the focal point of the letter R.
Stage 4: Easy Bubble Letter R Drawing
Presently we’re prepared to polish off the framework by adding two additional lines to the picture. The first of these will be a minuscule, bended line where the past one finished. This more modest line will be utilized to isolate the two ‘legs’ of the letter. That subsequent leg will be drawn utilizing a somewhat bended line interfacing the hole that we now have left.
With that, you have your finished diagram for your R! We’re not finished with it yet, yet you can securely eradicate any pencil lines you utilized for the framework now.
Stage 5: Cute Bubble Letter R Drawing
In the past step, we referenced that we will draw the opening of the R letter and we will keep to that commitment! If we somehow happened to draw an impeccably adjusted shape for the opening, it would make it seem to be an bubble letter and more like a level shape on a page.
We need to stay away from that, so we will involve an exceptional shape for the opening. It will be formed a piece like a letter D that has a little line jabbing out from the upper left-hand corner.
You can intently allude to the reference picture to ensure it’s situated and formed accurately. Presently you can see the bubble letter R in the entirety of its greatness!
Stage 6: Bubble Letter R Drawing for Kids
The letter R we have been drawing is, obviously, level on the page. Yet we can make the deception that it is made from an bubble or an inflatable with a couple of basic subtleties.
The principal way we will do this will be by drawing a few intelligent spots on the letter. We included one the upper left-hand corner and one close to the focal point of the letter.
They are agreed with one another to recommend a solitary light source beaming on the letter. Then, we will add a few lines inside the letter close to the layouts. These lines will make it appear as though the letter is loaded up with air that is pushing out against anything the letter would be made of. It’s a straightforward touch, yet it truly assists with giving the letter a few profundity and volume, despite the fact that it is level on the page.
Go ahead and add a greater amount of these lines in better places too! You can likewise add other tomfoolery subtleties to the plan or attract components around it to make it more extraordinary.
Stage 7: Bubble Letter R Drawing Easy
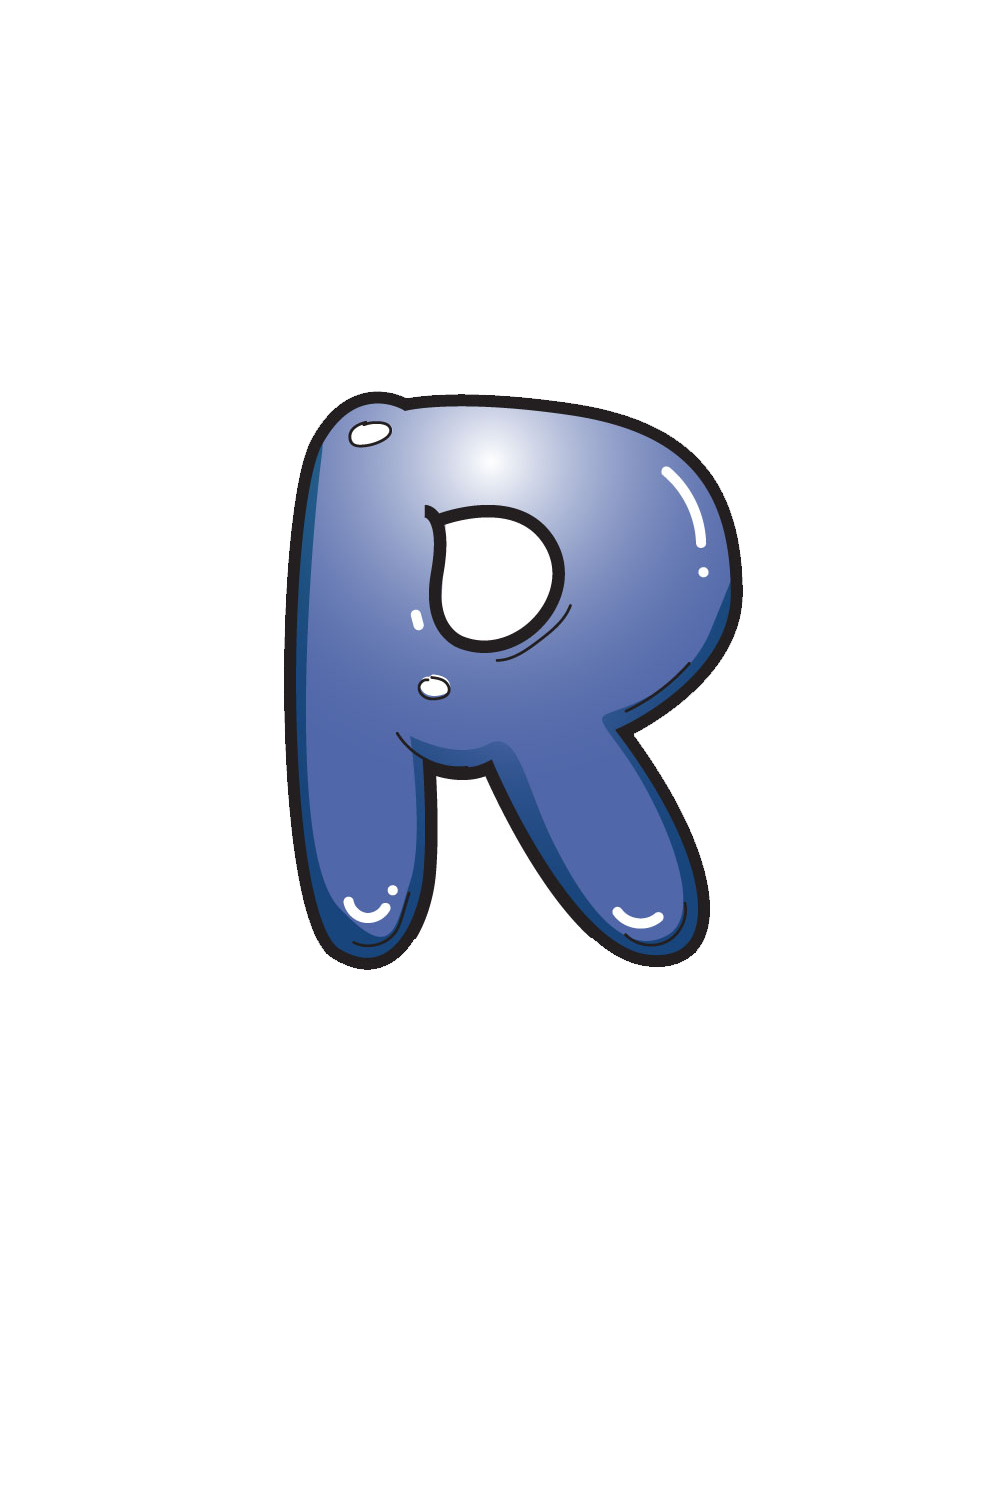
Presently every one of the most troublesome aspects of this plan are finished, we can have some good times shading it in! Here we maintain that you should go ahead and be all around as innovative as you like.
In past advances we recommended following the aide intently. However here we figure you ought to evaluate your very own portion decisions and thoughts. For our model, we went with a pleasant dim blue variety conspire for the letter. We didn’t simply utilize one shade however, we made it lighter and hazier relying upon the part of the letter.
Also Read digital nomic

